Processing Settings
Processing Settings control the time at which Scheduled Orders are processed and can be updated in your Site Settings ( QPilot > Sites > Dashboard > Settings >> Site Settings ).
Site Timezone and Processing Options
To set up your Site to process Scheduled Orders, you need to configure 3 settings in your Site's Options:
- Timezone
- Processing Start Time
- Processing End Time
Timezone
The timezone for your Site should be set to the timezone in which your business resides.
For instance, if your business is in New York, set your timezone to "Eastern Time" (GMT -5:00), or if your business is in London, set your timezone to "Casablanca, Dublin, Edinburgh, Lisbon, London..." (GMT).
How to Update Site Timezone
- First, log in to your QPilot Merchant Center.
- Locate the Site you wish to update and select "Edit" from the site menu (the "3 dots" in the upper right-hand corner of each Site card).
- Select the "Options" tab and locate the "Timezone" dropdown to set your Timezone.
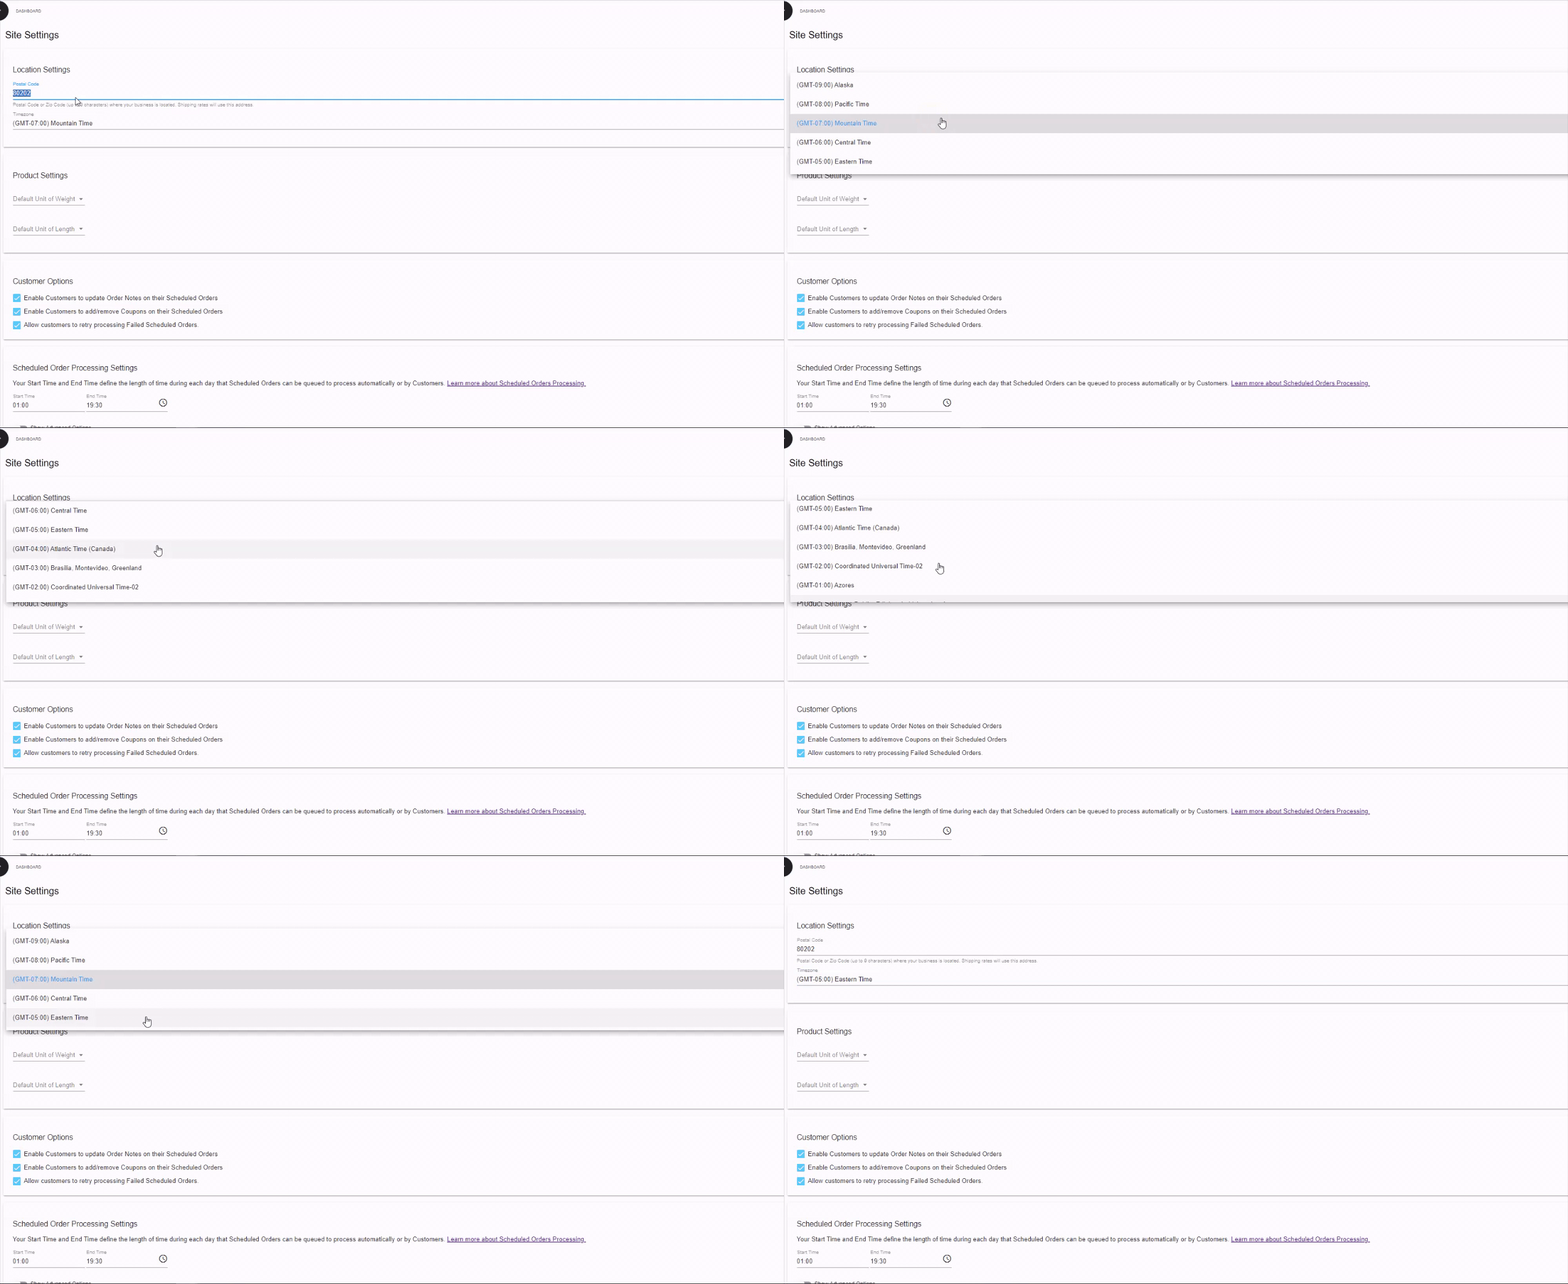
Updating a Site's Timezone in the QPilot Merchant Center
Processing Start & End Time
By default, QPilot sets the Processing Start Time & End Time automatically to All-Day Same-Day Processing meaning QPilot sets the Start Time to Midnight (aka 00:00) and the Processing End Time to 11:59 PM (aka 23:59).
This is the recommended (and most popular) configuration merchants use. In addition, changing your site timezone will only localize the times to your timezone.
Processing Start Time
The Processing Start Time controls what time of day Scheduled Orders can begin to process. This is done automatically by QPilot when Scheduled Orders are created: QPilot sets the Next Occurrence time to the Processing Start Time
This means that any Scheduled Orders that are scheduled to process for a certain day, will not start processing until after the Processing Start Time.
Pro-Tip!
Many merchants will set their Processing Start Time to 12:01 AM so that order processing can begin as early in the day as possible.
If you have enabled any Customer Notifications, the Processing Start Time will also control when those notifications are sent to your customers. This is because the Customer Notifications also are triggered for the Next Occurrence time (the number of days set on the notifications) before the Scheduled Order starts processing
How to Update your Processing Start Time
- First, log in to your QPilot Merchant Center.
- Locate the Site you wish to update and select "Dashboard" from the site menu (the "3 dots" in the upper right-hand corner of each Site card).
- Select "Site Settings" from the left-hand menu and locate the "Scheduled Order Processing Start Settings".
- Then choose a time that Scheduled Orders should begin to process each day.
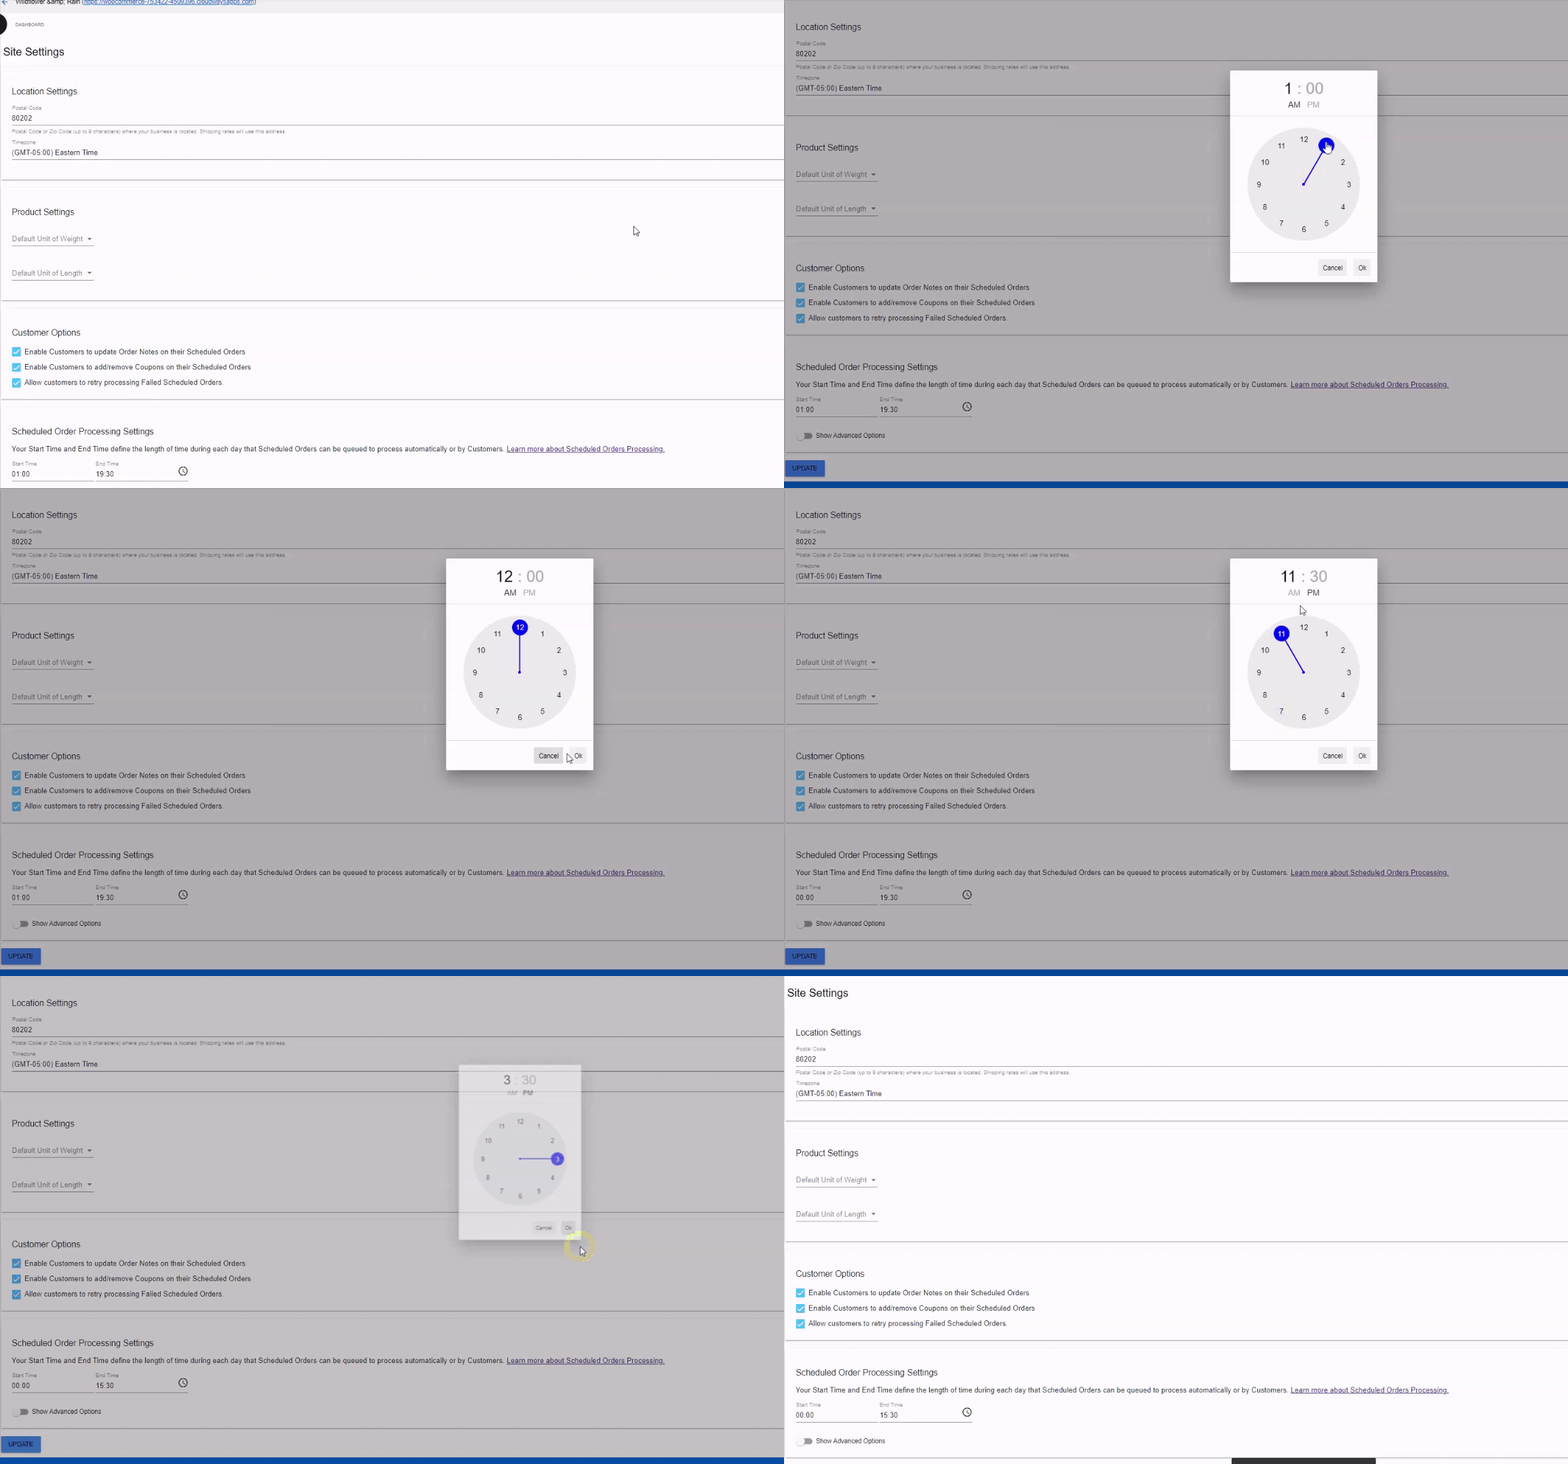
Update the Scheduled Order Processing Start Time to control when order processing can begin each day.
Processing End Time
The Processing End Time controls at what time of day Scheduled Orders can no longer process.
This means after the Processing End Time, Scheduled Orders will no longer be queued to process automatically or be triggered to process by customers until the following day at your processing start time. Merchants are still able to process Scheduled Orders manually after the Processing End Time has passed each day.
Pro-Tip!
Many merchants will set their Processing End Time to 11:59 PM so that order processing is enabled as long as possible: until the very end of the day.
How to Update your Processing End Time
- First, log in to your QPilot Merchant Center.
- Locate the Site you wish to update and select "Dashboard" from the site menu (the "3 dots" in the upper right-hand corner of each Site card).
- Select "Site Settings" from the left-hand menu and locate the "Scheduled Order Processing End Time" field.
- Then choose a time that Scheduled Orders should stop processing each day.
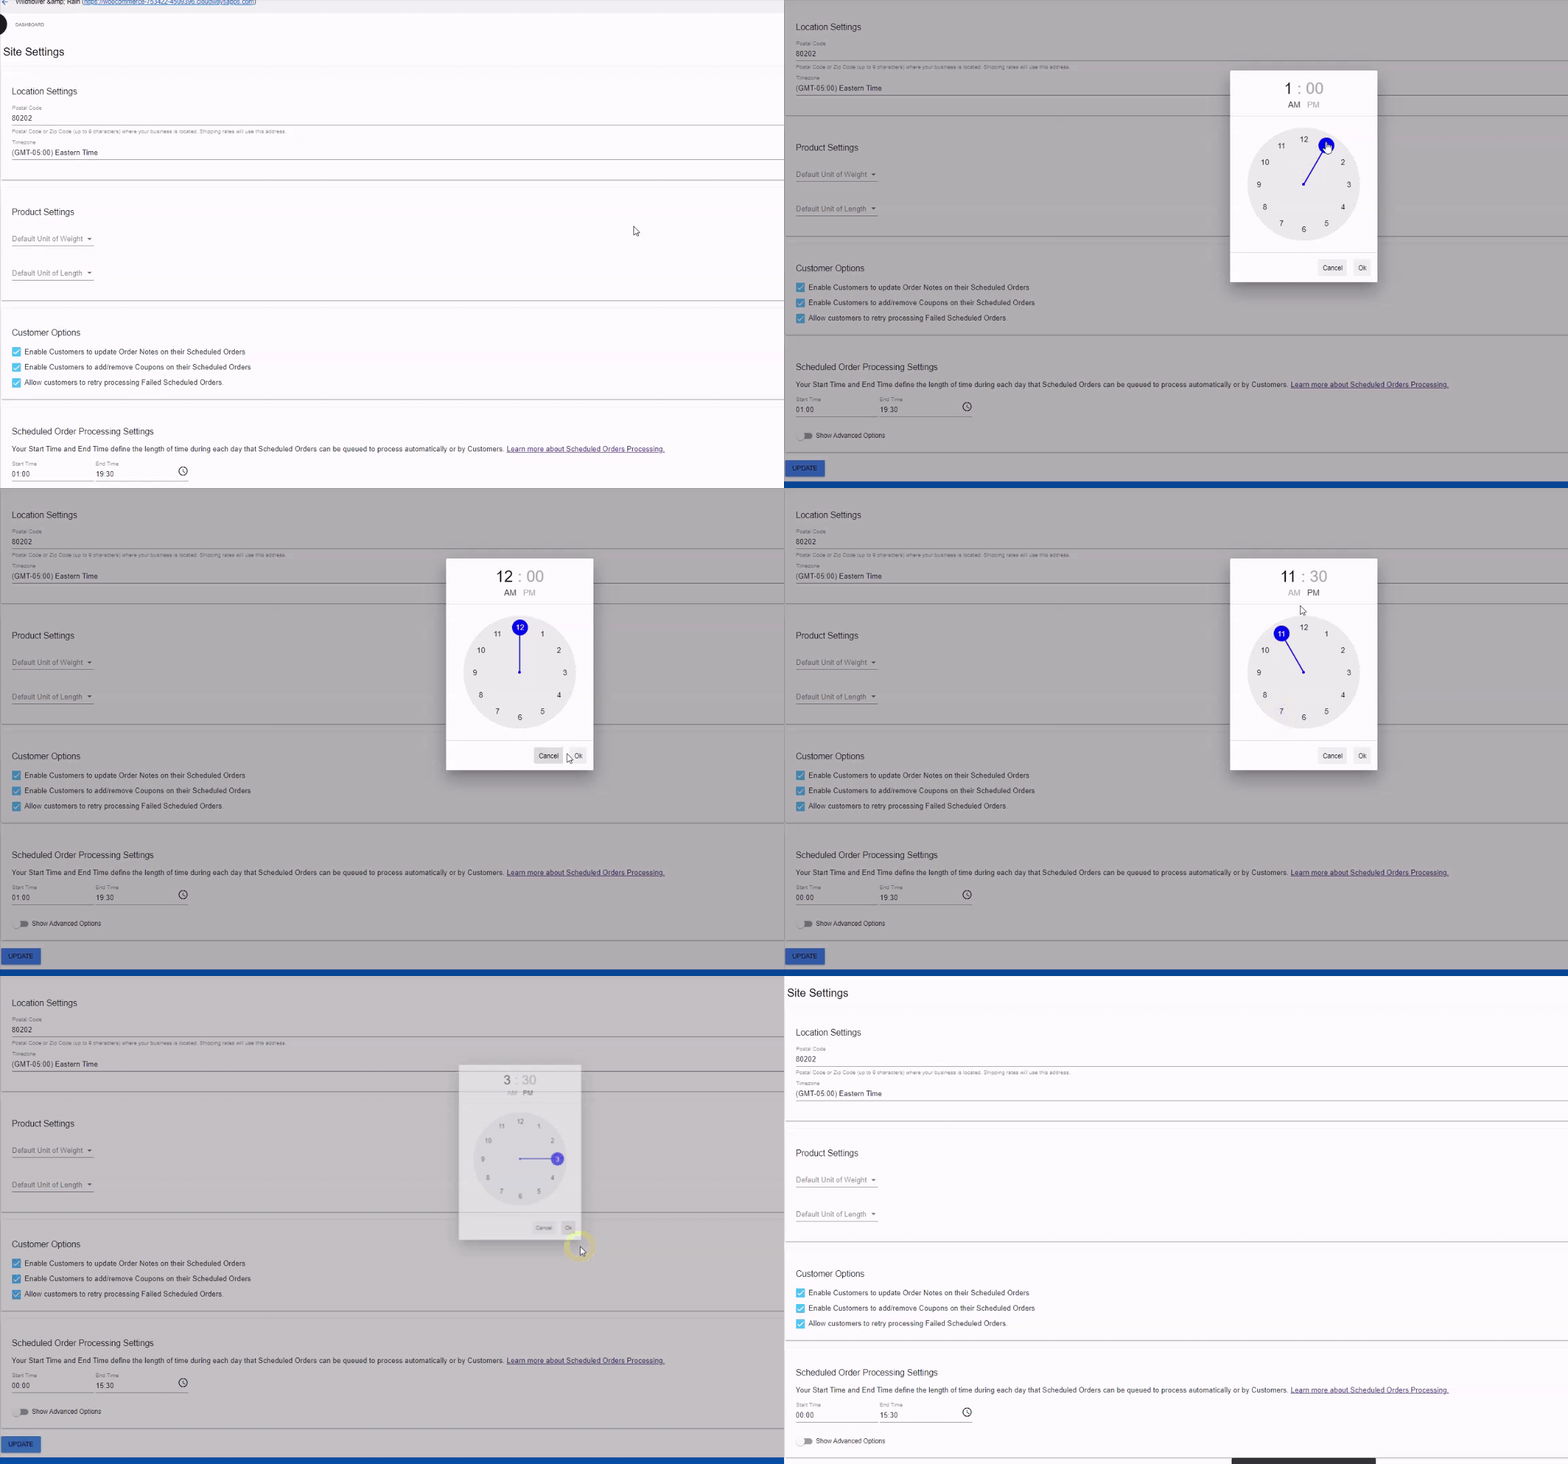
Update the Scheduled Order Processing End Time to control when orders are no longer allowed to process each day.
See more ways how to set up different processing configurations to meet your needs in our doc Processing Configuration Examples.
Advanced Processing Options
QPilot Site Offset Processing
Some businesses want to process their Scheduled Orders days in advance of the Scheduled Order's actual Next Occurrence Date.
This may be due to fulfillment or order processing needs, sensitive inventory levels, or simply because they wish to have a longer lead time before shipping out an order.
Processing Scheduled Orders before their actual Next Occurrence Date can be achieved with a setting found within your connected QPilot Site.
- First, log in to your QPilot Merchant Center .
- Locate the Site you wish to update and select "Dashboard" from the site menu (the "3 dots" in the upper right-hand corner of each Site card).
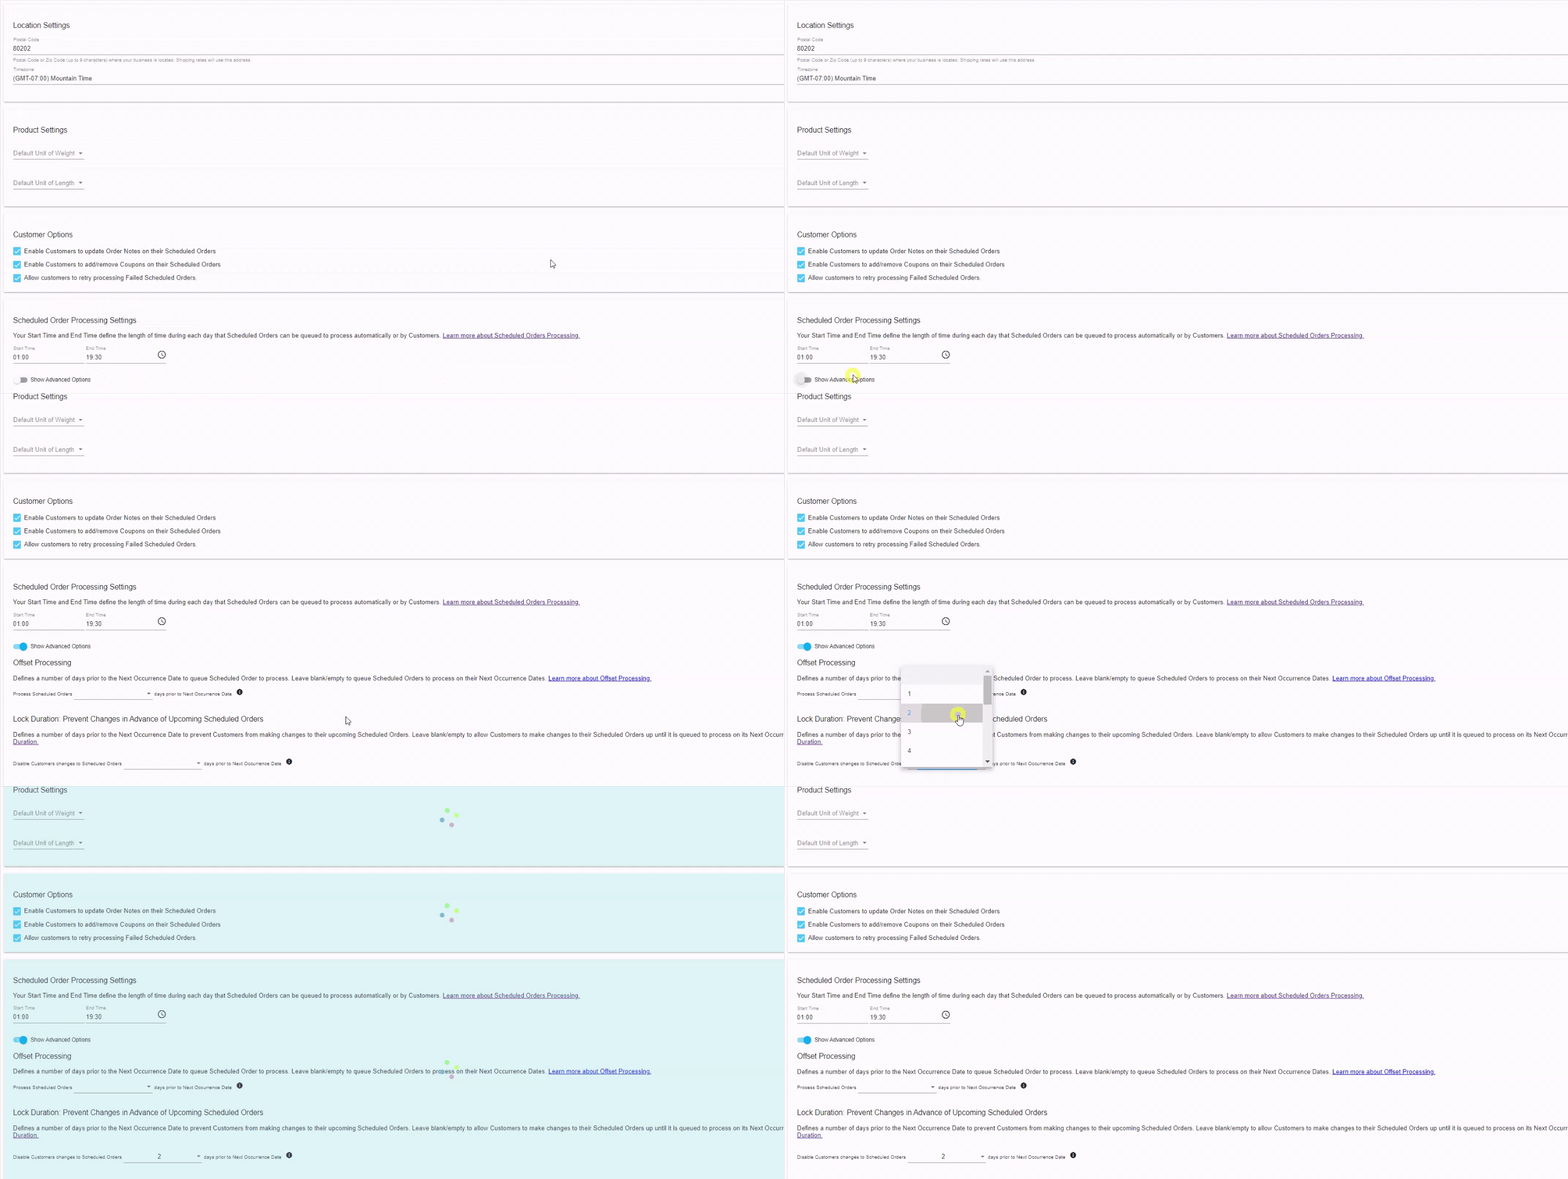
- Select "Site Settings" from the left-hand menu and toggle on "Show Advanced Settings" under "Scheduled Order Processing Settings".
- Under "Offset Processing", select the number of days you want your Scheduled Order to process in advance of their actual Next Occurrence dates.
Example: if you set "Process Scheduled Orders __ days prior to Next Occurrence date" to "2", the Scheduled Order will process 2 days prior to its Next Occurrence Date at the processing time set above.
What Happens During Offset Processing?
A Scheduled Order will not be editable between when it starts processing and its Next Occurrence Date. So in the example above, the Scheduled Order will start processing 2 days prior to its Next Occurrence Date and the customer won't be able to make changes to the Scheduled Order until the Next Occurrence Date and time have passed.
See an example of how to configure Offset Processing in our doc here Processing Configuration Examples.
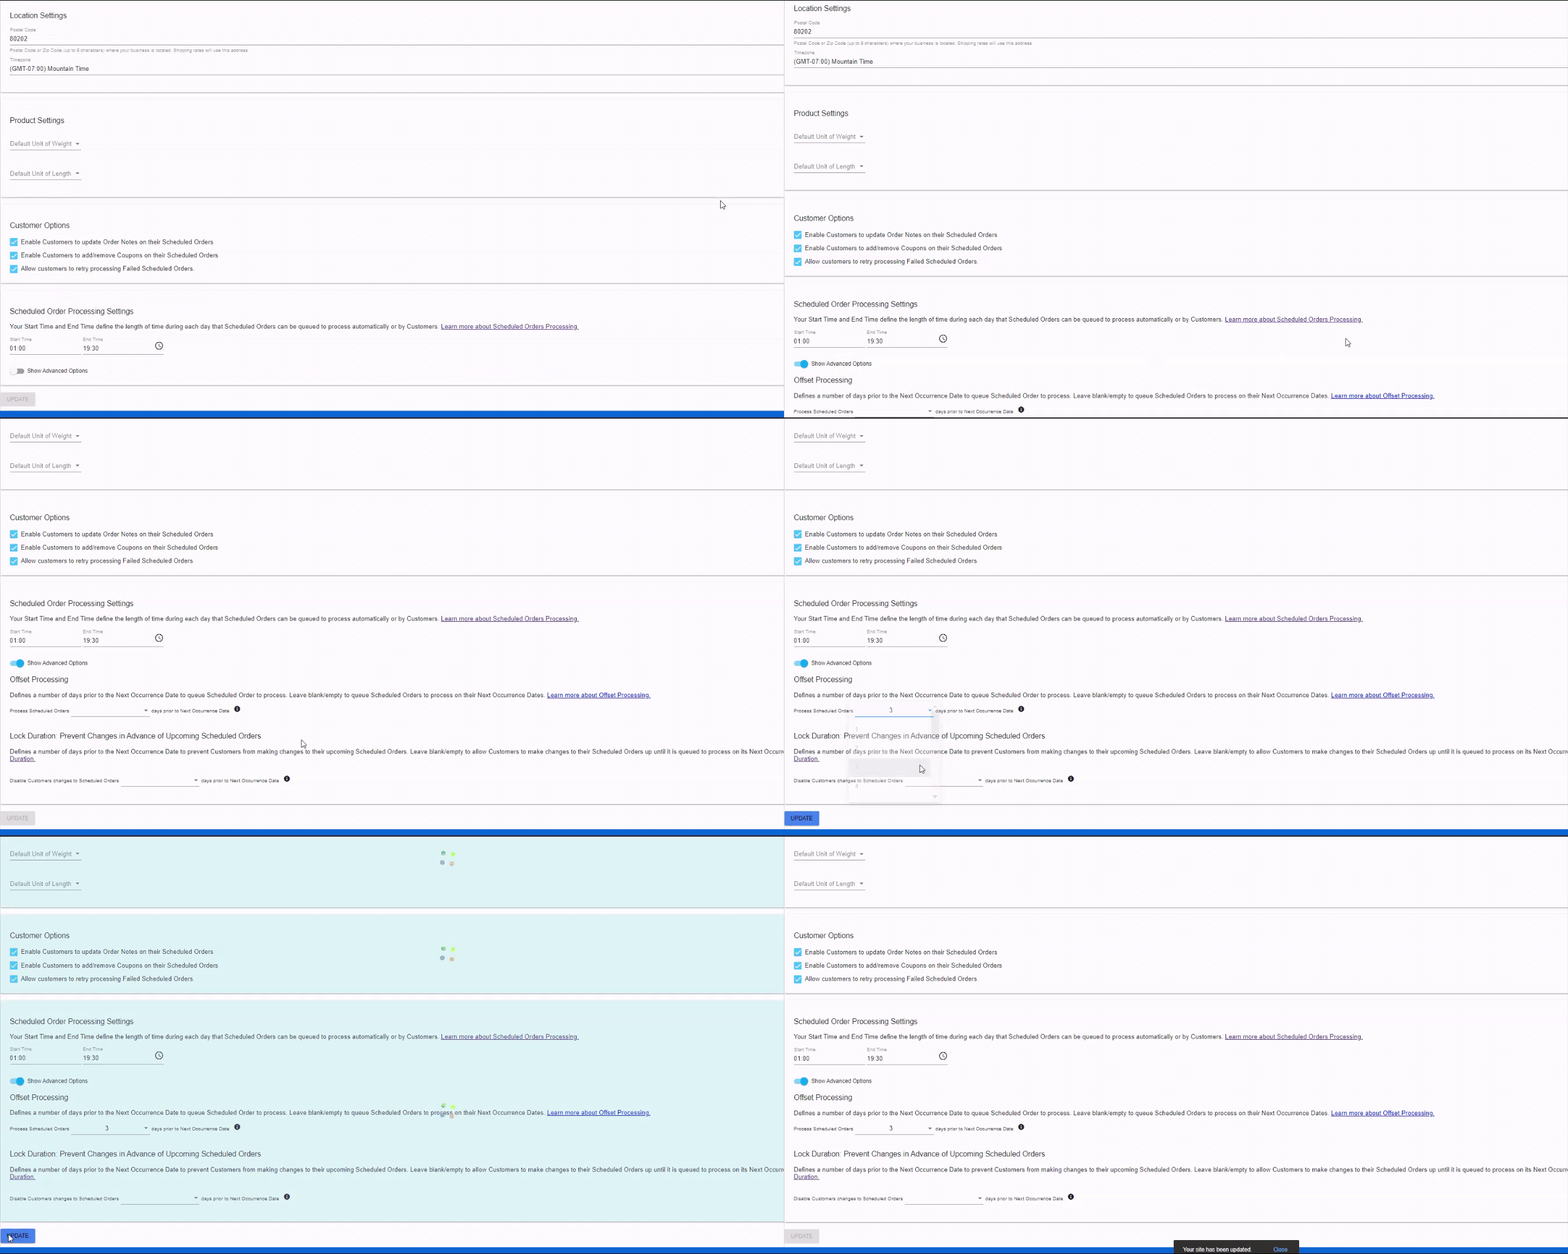
QPilot Site Lock Window
Some businesses require that customers are not able to make changes to Scheduled Orders (aka "locked") prior to when they process. Setting up a Scheduled Order Lock Window prevents customer changes to Scheduled Orders a number of days prior to when they are due to process.
This may be due to fulfillment or order processing needs, sensitive inventory levels, or perishables that cannot be restocked. When a Scheduled Order is "locked" customers can only make changes to the Payment Method of the Scheduled Order.
"Locking" Scheduled Orders before their actual Next Occurrence Date can be achieved with a setting found within your connected QPilot Site.
- First, log in to your QPilot Merchant Center .
- Locate the Site you wish to update and select "Dashboard" from the site menu (the "3 dots" in the upper right-hand corner of each Site card).
- Select "Site Settings" from the left-hand menu and toggle on "Show Advanced Settings" under "Scheduled Order Processing Settings".
- Under "Lock Duration", select the number of days you want your Scheduled Order to "lock" in advance of when they process.
Example: if you set the Lock Window "2", the Scheduled Order will "lock" to the customer 2 days prior to its Next Occurrence Date at the processing time set above.
Using Lock Window + Offset Processing Together
If using the Lock Window in conjunction with Offset Processing, the Scheduled Order will enter its Lock Window relative to the Next Occurrence Date by the sum of the Lock Window and Offset Processing value entered.
See an example of how to configure Lock Windows in our doc here Processing Configuration Examples.
Updated over 1 year ago
