Required for Integration
- Valid SSL installed for your site
- Customer Vaulting (for using saved cards)
- Direct Post API
- API Keys
- Username
- Password
- Tokenization - This gateway must tokenize payments in a way that allows QPilot to create future orders
Required Payment Fields for NMI
- Gateway Customer Id
- Billing Address
- Payment Method Description (optional, but strongly suggested because it is used to display the payment method to your customer)
Setting up NMI Payments
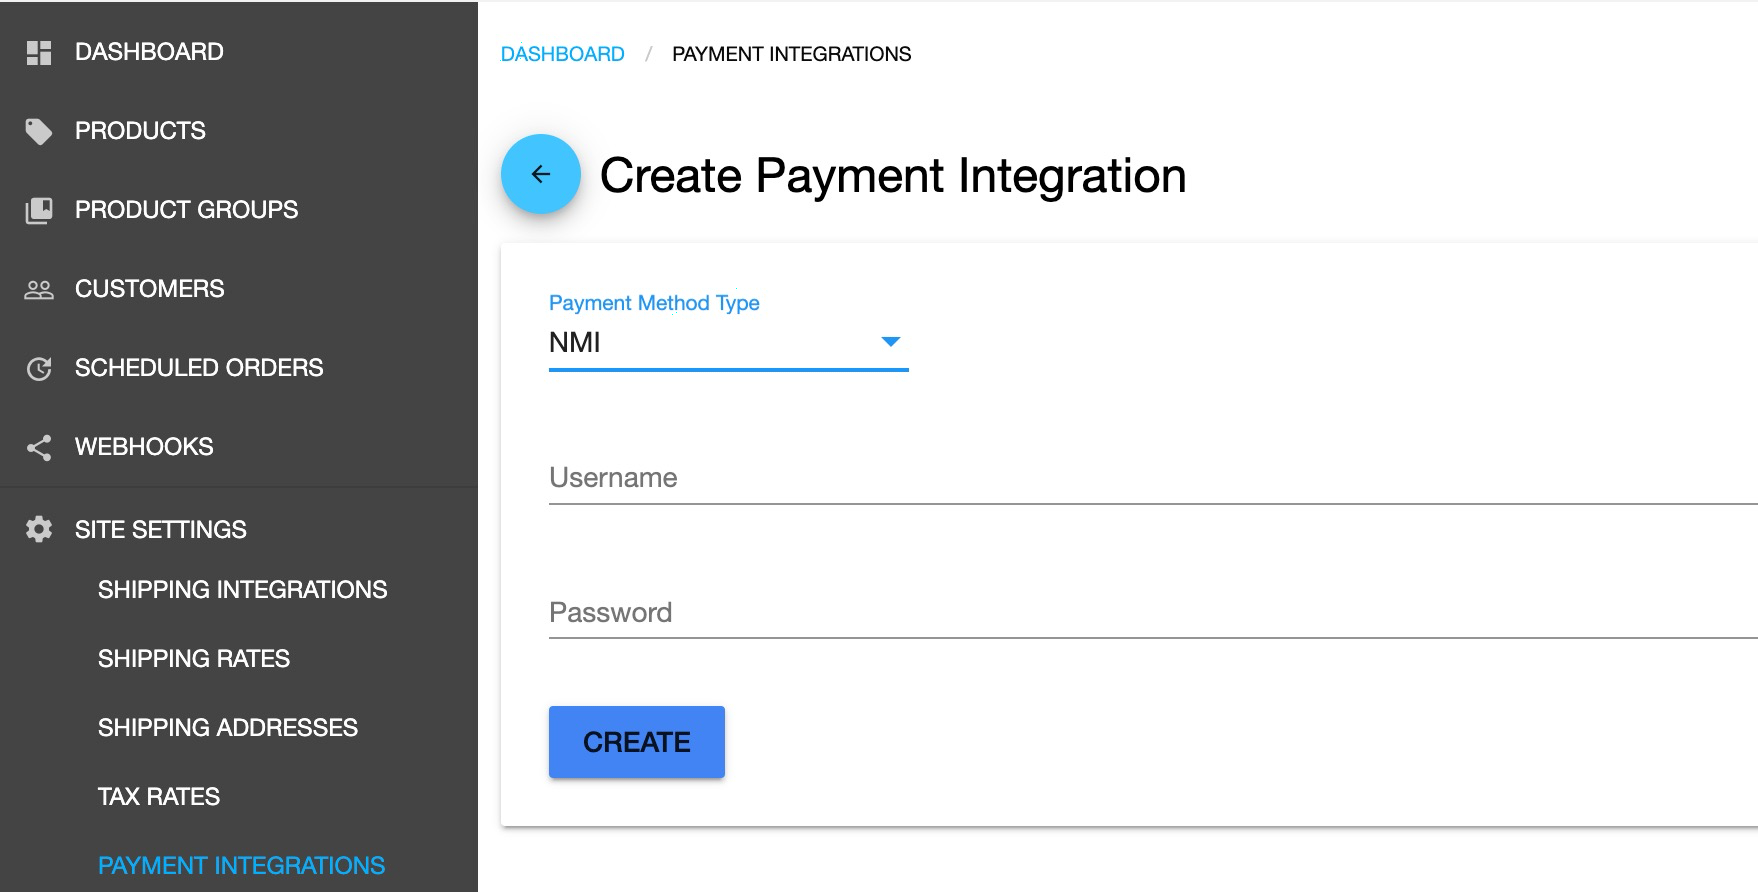
Navigate to QPilot Merchant Center > Dashboard > Payment Integrations. Once there, select the "Add" button (blue circle with the "+" sign in it) to add a new payment integration.
Make sure that "Test Mode" is enabled (unless you are ready to begin using the gateway in Live mode), select the "Payment Method Type" dropdown, and then select "NMI", enter the required API keys.

NMI Payment Intergration
When you're done, click "CREATE".

You should now see a new NMI payment integration in your Payment Integrations list.
Ready to go live with NMI?
In order to enable live payments (and disable 'Test Mode') please ensure you have activated your QPilot account with a subscription plan.
Then make sure a "Production" environment is selected for your site in QPilot Merchant Center > Edit (site) > General Settings.
NMI FAQ's
Where do I find my NMI API Keys?
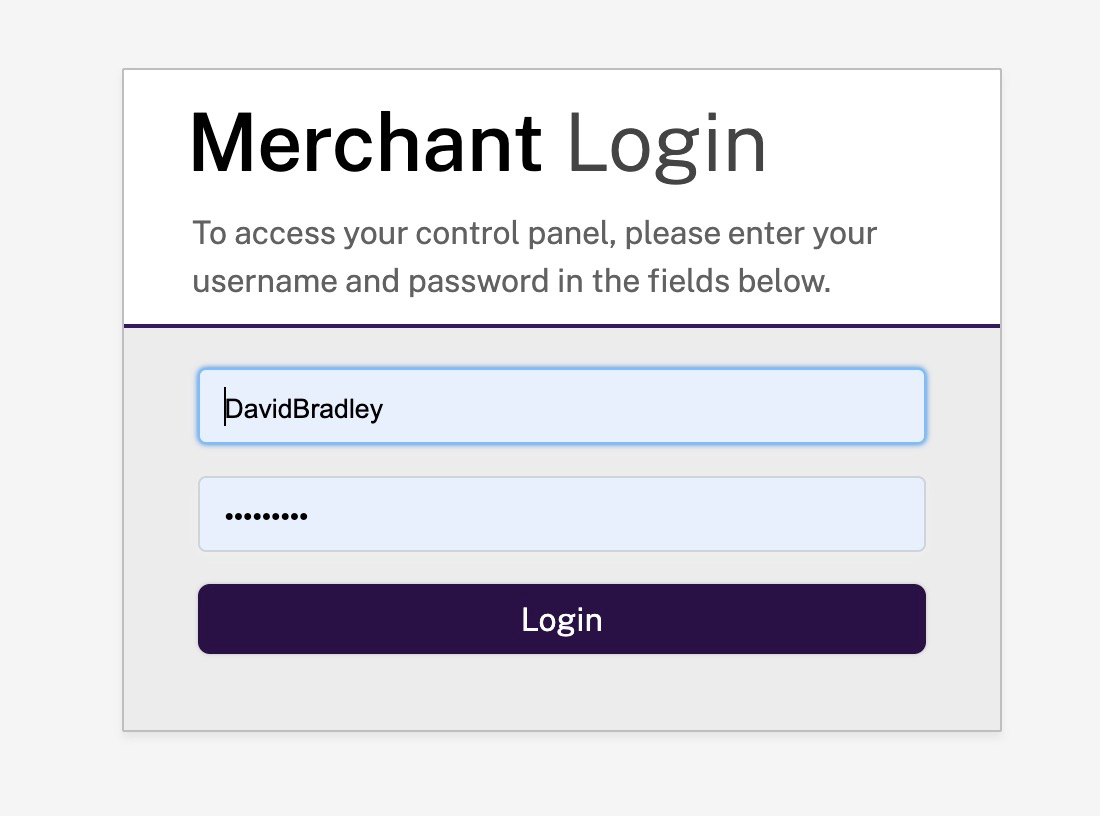
QPilot's NMI integration uses your NMI Account's Username and Password to process payment for Scheduled Orders. Simply paste the Username and Password used to login to your NMI account to the corresponding fields in QPilot.

Updated over 3 years ago
