Editing Scheduled Orders
Scheduled Orders can be edited by visiting the QPilot Merchant Center > Dashboard >> Scheduled Orders by selecting "View/Edit" for the Scheduled Order you want to edit.
Common reasons to edit a Scheduled Order as an administrator include:
- Updating customer address information
- Rescheduling the Next Occurrence Date for the Scheduled Order
- Changing the products within a Scheduled Order
- Updating payment information on a Scheduled Order
Updating Customer Address Information
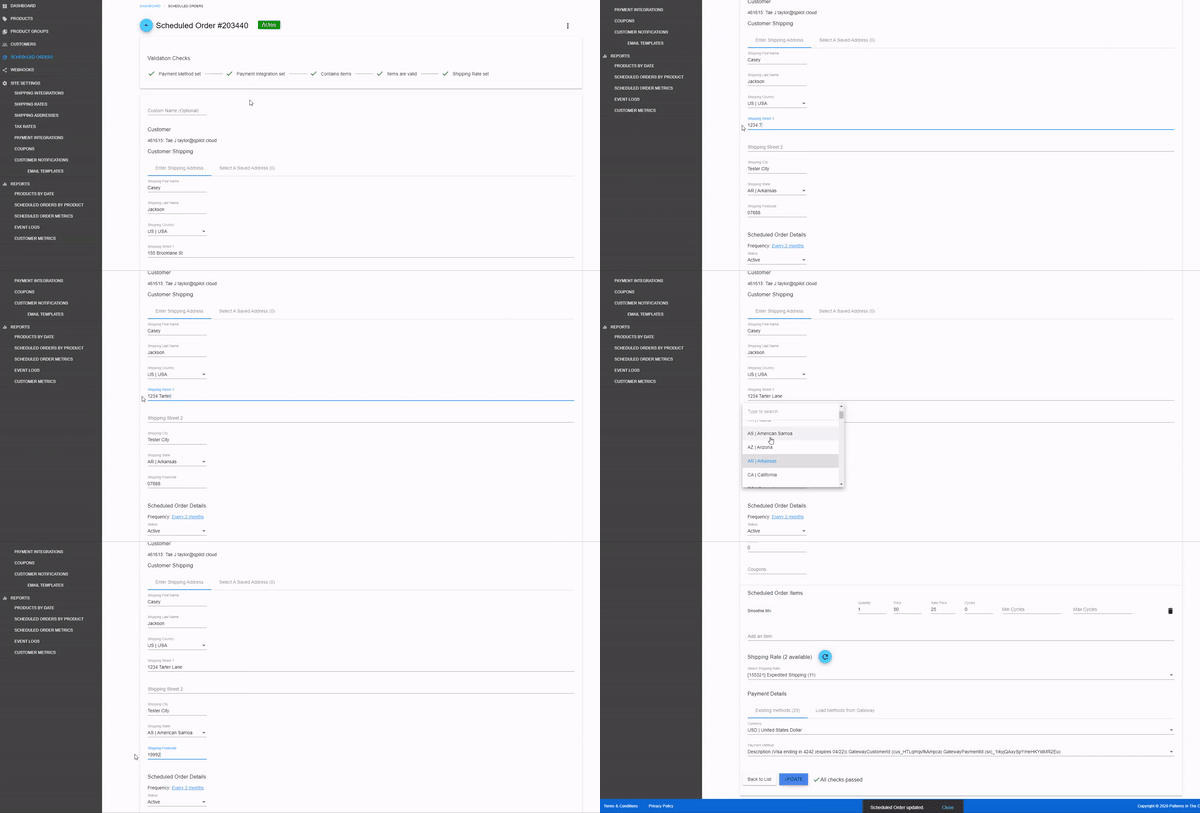
By default, Scheduled Orders will prefill the address fields of the Scheduled Order using the Shipping Address saved with the QPilot Customer.
As an administrator, you can edit the address fields of the Scheduled Order for your customer.
Changing the address is unique to the Scheduled Order you are editing and will not change or update the customer's Shipping Address or other Scheduled Orders in your connected site.

Updating Shipping Address
Rescheduling a Scheduled Order
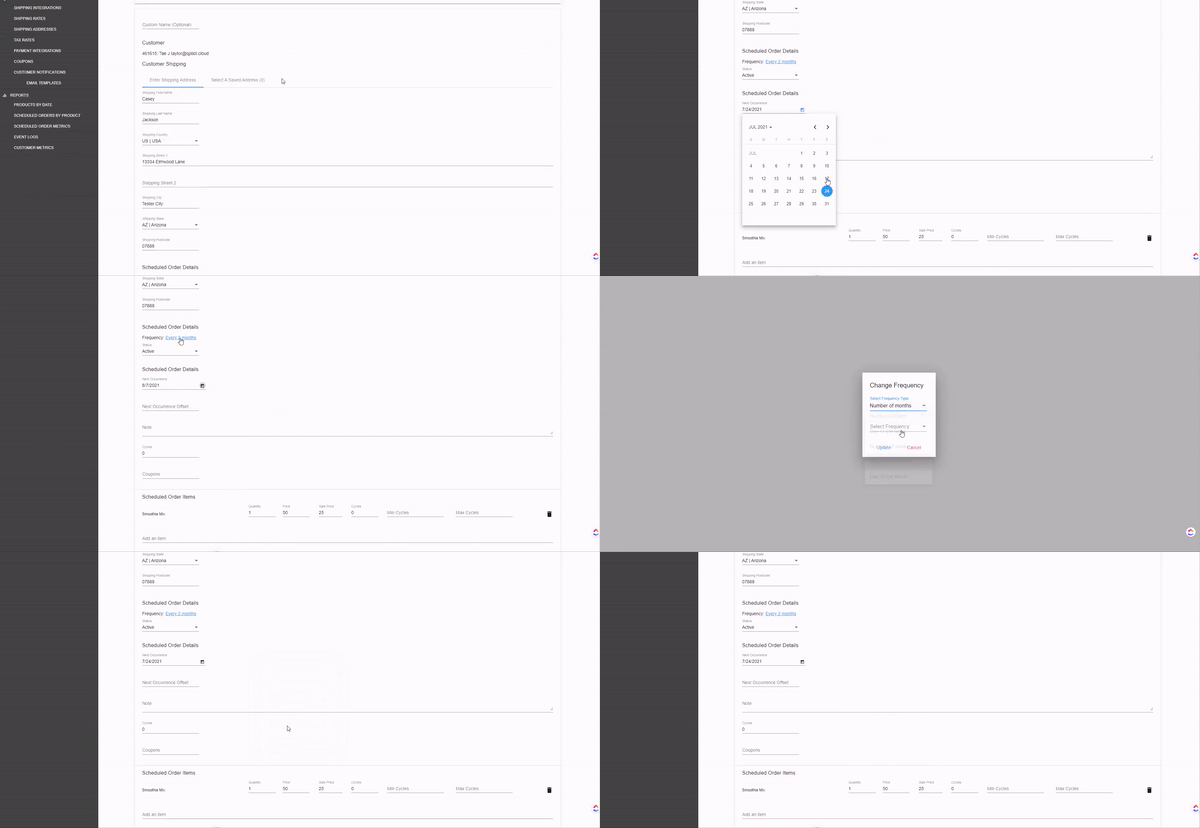
You can update both the frequency and/or the Next Occurrence Date for Scheduled Orders. This enables you to edit when the Scheduled Order will process next as well as the frequency it processes automatically.

Updating Schedules
Updating Products
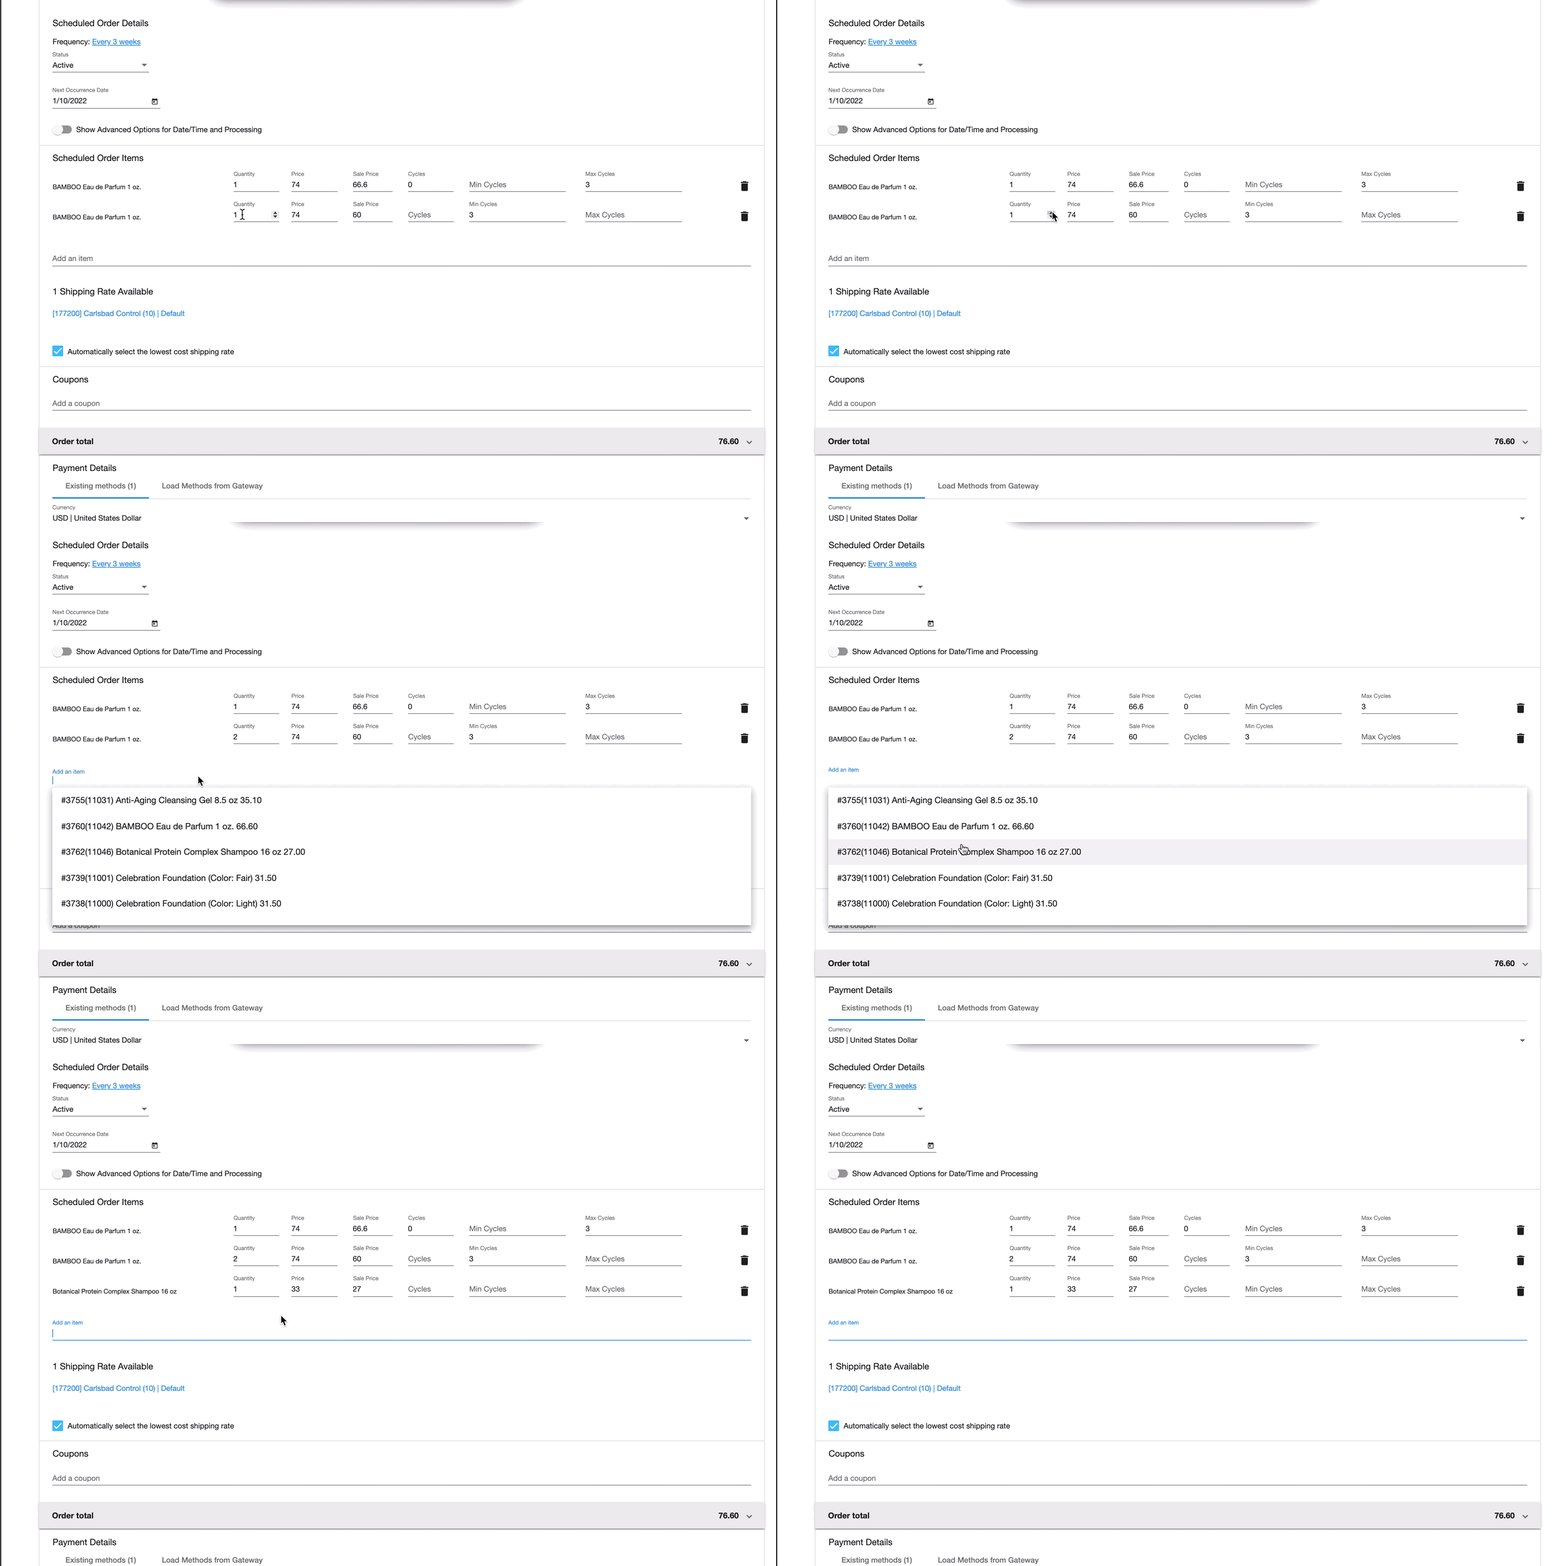
You can add/remove any product to a customer's Scheduled Order. In addition to the ability to add/remove products, other settings can be changed per product that is unique to the Scheduled Order you are editing including:
- Quantity
- Price (Connected Site Regular Product Price)
- Sale Price (Recurring Price)
- Cycles
- Min Cycles
- Max Cycles

Updating Payment Details
You can change payment and billing details on Scheduled Orders. Before adding payment details to a Scheduled Order, ensure that you have already successfully setup an integration for your payment gateway within QPilot Merchant Center > Dashboard >> Payment Integrations.
Note: You can learn more about Payments and supported Payment Gateways here.
Adding a payment method to a Scheduled Order as an administrator:
Step 1
- Edit the Scheduled Order you wish to update payment information on and locate the "Payment Details" section.
- You may load a Stripe, Braintree, or Authorize.net Payment Method directly from your gateway; select the tab "Load Method from Gateway"
- To create a new payment method, select "Create New" from the "Payment Method" dropdown (after, required billing fields will display)
- On the "Payment Method Type" dropdown, select the Payment Gateway that you have setup for QPilot (you can confirm this within QPilot Merchant Center > Dashboard >> Payment Integrations)
Step 2
In a separate browser or tab, login to your Payment Gateway.
- Locate the profile of the customer you are adding a payment for within your Payment Gateway account
- Copy the following required payment fields into the Scheduled Order you are editing. You can learn more about required payment fields here: Required Payment Fields
- Enter a Payment Method Description. For example "Visa ending in 4242 (expires 02/21)"
- Enter the required billing information fields for your customer in the remaining Payment Details* * *
- Billing First Name
- Billing Last Name
- Billing Street 1
- Billing Street 2 (optional)
- Billing City
- Billing State (usually 2 characters, example: CA)
- Billing Postcode (also known as Zip Code)
- Billing Country (select from the list or type to search the list)
Step 3
Once done, you should set the status of this Scheduled Order back to "Active" if the Scheduled Order is intended to process at its next occurrence date.
- Important: Make sure to click "Update" to save your changes.
- If the Scheduled Order is already past its next occurrence date and has an "Active" status, it will attempt to process within 5-10 minutes of updating the order.
Updated about 4 years ago
